

How to whip wax in 7 easy steps
Whipped wax is what gives dessert candles their realistic, creamy appearance. Whether you’re making a candle that looks like a cupcake, cake, hot chocolate, ice cream, or any other sweet treat, whipped wax is often the finishing touch that brings the whole design to life.
Although it might look difficult, learning how to whip candle wax is actually quite simple (almost as simple as whipping real cream). The most important part is knowing when the wax has cooled to the right consistency before you start whipping it. Once you get the timing right, the rest is easy.
You don’t need expensive equipment or years of experience. With a few basic candle-making tools and a little patience, you can create beautiful, fluffy wax decorations that look just like real whipped cream.
In this guide, I’ll show you how to make whipped wax in 7 easy steps, along with a few tips I’ve learned that can help you avoid common mistakes and achieve great results.
Whipped wax is often an essential part of a dessert candle. It can make your dessert candle look like real food because whipped wax looks exactly like real whipped cream. Whipping wax does not need to be complicated. Follow these 7 easy steps for perfect whipped wax.
To whip wax, you will need container wax. Pillar wax hardens too fast and would not work in this case.
Tools you will need:
- container wax (soy wax works great here, but you can use other waxes with similar melting points; read more about wax types here)
- mixer / whisk
- silicone spatula or spoon
- double boiler
- piping bag and tip
Step 1
First, melt your wax and add dye and fragrance if you want.
Step 2
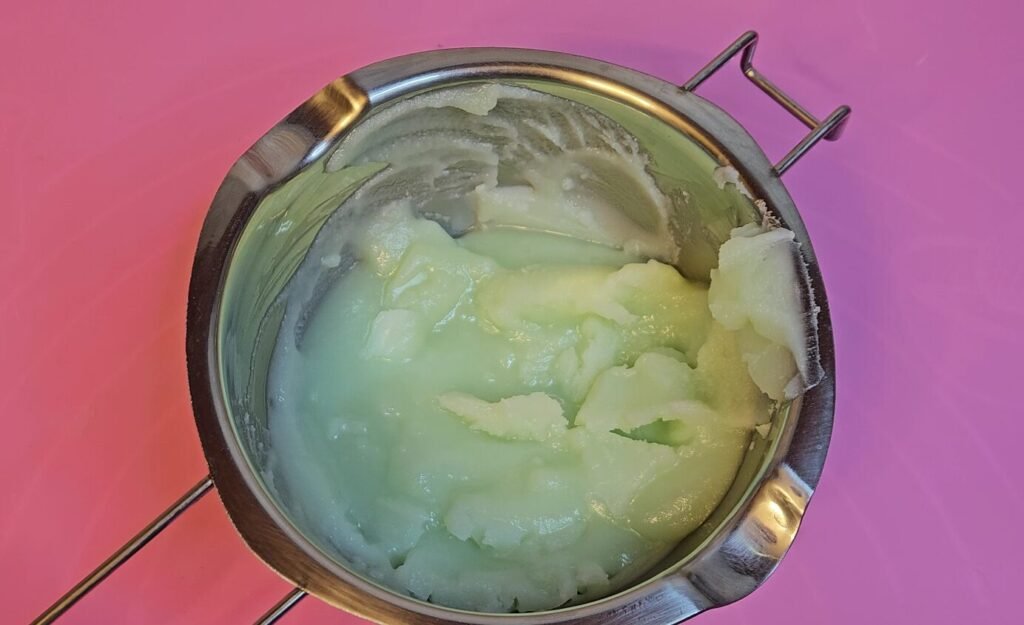
Leave the wax to cool down and start solidifying. You can mix it with your spatula to check the consistency while it cools down. When the wax reaches a thick yoghurt consistency, it is ready to be whipped.
Step 3
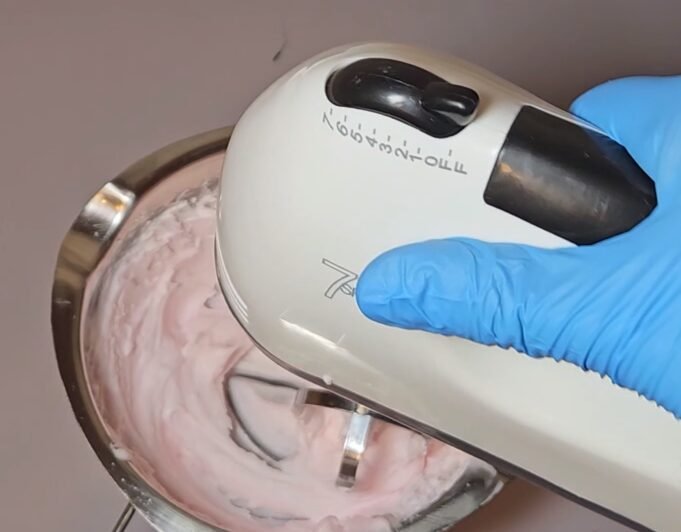
Use a mixer to whip the wax (use this mixer for candles only); this is the easiest way. You could also use a whisk, but it will take much longer time.
Step 4
Whip the wax until it looks like thick cream. You can find out if the wax is ready for piping by checking if it drips from the mixer. If it is not dripping, then it’s ready.
Step 5
Add your wax to a piping bag. I find thick silicone piping bags to work the best.
Step 6
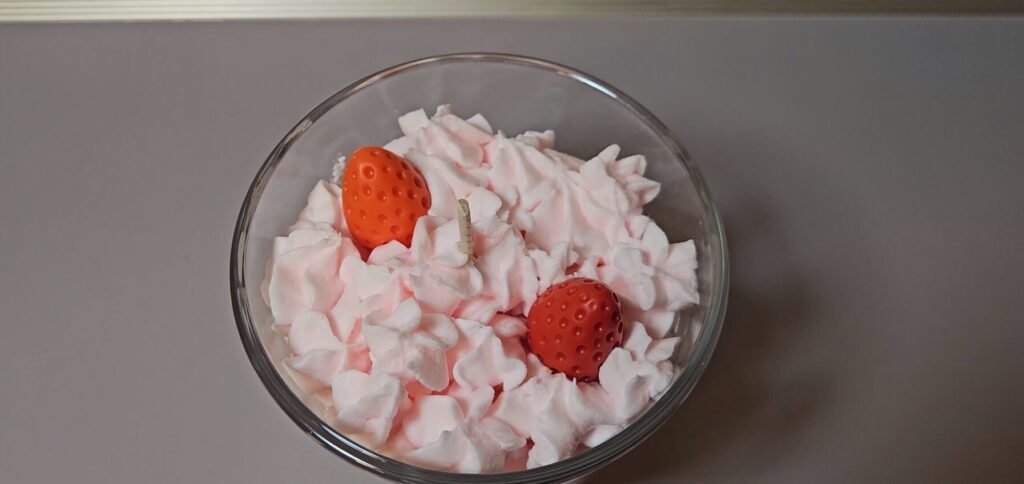
Using a piping bag, add your whipped wax to your candle just like you would on a real cake.


Step 7
Let the wax harden.
That’s it! Enjoy your homemade whipped wax candle.
Common Mistakes to Avoid
If your whipped wax doesn’t turn out perfectly the first time, don’t be discouraged. The most common mistake is trying to whip wax that is too hot (if it gets too cold and harden you can always reheat it). Make sure your wax is perfect consistency by taking a piece of wax with your spatula or spoon and turning it upside down. Does it drip? If the answer is yes, you need to wait a bit longer for it to harden. Another common issue is overfilling the piping bag, which makes it harder to control and can cause it to burst (this is why thick, reusable silicone piping bags work better).
Remember that different waxes behave slightly differently, so you may need to adjust the cooling time depending on the brand you’re using. Keeping notes during your first few batches can make it much easier to repeat successful results in the future.
Cleaning tips
To clean your piping bag, it is best to pour very hot water over it. Scrub with a sponge and plenty of dish soap. Usually, the bag will not be fully clean after doing this once, so you should repeat this process twice. To clean the piping tip, just throw the tip in boiling water, take it out after a minute, and wipe with a dry cloth. The same goes for your whisk and pitcher / double boiler.
Summary
Making whipped wax is one of the most rewarding candle-making techniques to learn. It transforms an ordinary candle into something that looks good enough to eat, making it perfect for dessert candles, cupcake candles, whipped coffee candles, hot chocolate candles, and other creative candle projects.
Like many candle-making skills, it gets easier with practice. Don’t worry if your first swirl isn’t picture-perfect—every batch teaches you something new. With time you’ll know exactly when your wax is ready to whip and be able to create beautiful (and tasty-looking!) candles with confidence. Good luck!
It’s just superb, the way u explained
Thank you! I’m so glad you found the explanation useful. More candle-making guides are on the way!